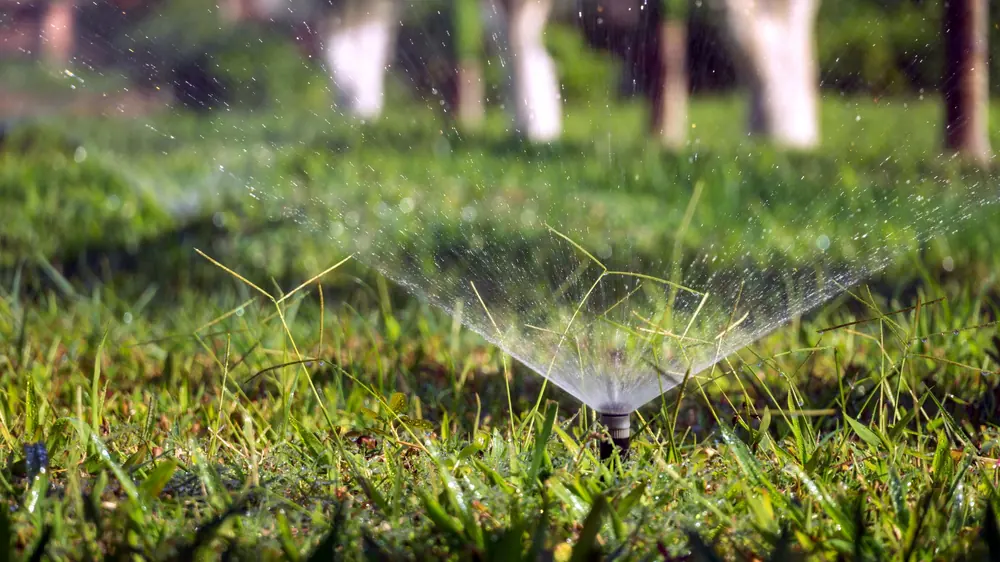
Irrigation system installation in Varna: measure the tap first, then lay the pipes
A new sprinkler and drip system for the lawn, the beds and the hedge. We build it ourselves, from the first reading at the tap to the test cycle, and we start with the water you actually have rather than with the size of the lawn.
Our clients on video · all videos (in Bulgarian)
Irrigation system installation in Varna begins at the tap, not on the lawn. We measure the water pressure and the flow after the water meter, then decide from those two readings how many sprinklers can share one zone. After that we lay polyethylene pipe in a shallow trench, fit the valves in a box, the sprinklers and drip lines, and set the controller. We hand the system over after a test cycle and a check of the water meter. We build it ourselves and measure with our pressure gauge. It is a newer line of work for us, so we tell you by phone whether and when we can take your garden on. It is part of garden irrigation in Varna. Call +359 52 993 333 or email info@kanalvarna.com — write to us in English and we reply in English.
Updated November 2026What irrigation system installation includes
Installing an irrigation system means a plan of the zones, a trench, pipes, valves, sprinklers or drip lines, a controller and a test cycle. We do all of it, from measuring at the tap to handing the system over; the wider picture, from start-up to repairs, is on the garden irrigation page.
Solenoid valve. A valve with an electric coil that opens and closes the water to one zone when the controller tells it to. Every zone has its own valve, and the valves of a garden sit together in a box in the ground, under a lid.
The work goes in this order:
- pressure and flow measured at the inlet;
- a plan of the zones on a sketch of the garden, with a list of parts;
- the trench and the pipes;
- the valve box, with cables to the controller;
- sprinklers for the lawn and drip lines for the beds;
- the controller, a rain sensor and a test cycle.
Who buys the parts, we from the list or you, is agreed with the proposal. We keep no stock of parts and no single make for every garden.
Pressure and flow: why we measure before we plan
How many sprinklers fit in one zone depends on how much water the tap gives and at what pressure. A plan drawn from the area of the lawn alone often gives zones where the last heads barely rise out of the ground.
We read the pressure with our pressure gauge on the tap after the water meter, once with everything shut and once while water runs; the second reading shows what is left when the system works. For the flow we time how long a container of known size takes to fill while the gauge shows the pressure the sprinklers need.
Each sprinkler and drip line uses an amount of water given in the maker's table. We add them up zone by zone and never let a zone ask for more than the tap gives. If the water is not enough, there are three ways out:
- more zones with fewer heads each — the simplest answer;
- drip lines instead of sprinklers where possible, as they need less water at a time;
- a pump with a tank, where the pressure is low all day. If the house has weak pressure too, see the booster pump first.
If the water comes from a well, we measure what the pump delivers; we do not fit the pump. A borehole can be arranged through partners with a drilling rig, and we connect the system to the finished source.
Sprinklers or drip lines: what goes where
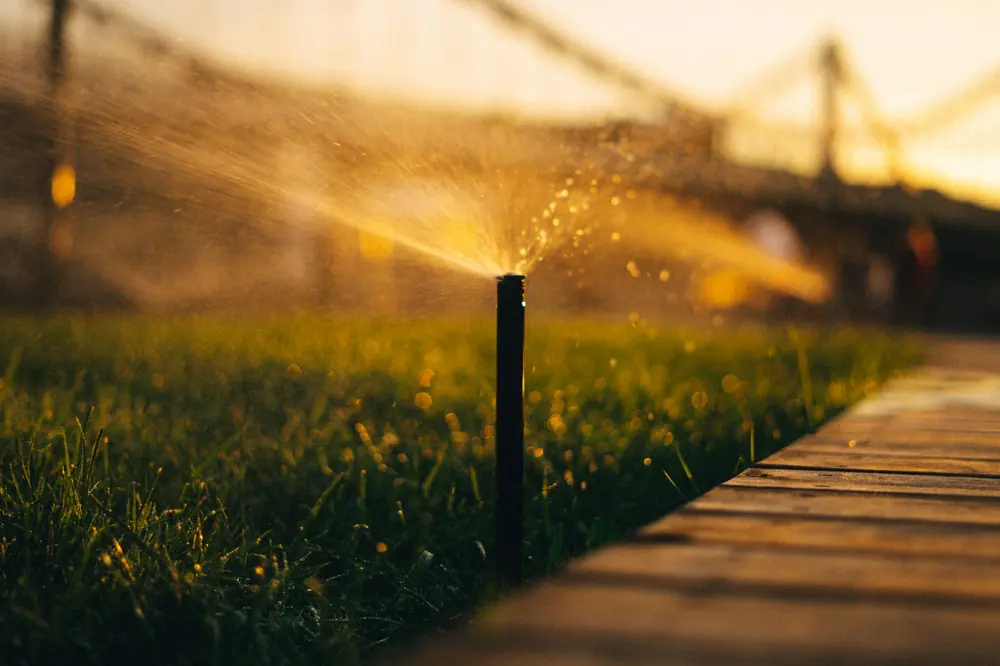
Sprinklers are for grass, drip lines for anything with a root in one spot: beds and a hedge go on separate drip zones.
| Where | What we fit | Why |
|---|---|---|
| A large lawn | Rotor sprinklers | A slow turning jet carries far, so fewer heads and less pipe for the same area |
| A small or narrow strip of grass | Spray sprinklers with a sector nozzle | They cover a short distance at an exact angle, without wetting the path |
| Beds and shrubs | A drip line, or a dripper at each plant | The water reaches the root and the leaves stay dry |
| A hedge along the fence | A drip line along the row | Even watering along the whole row, with no jet hitting the fence |
| A sloping garden | Drip with pressure-compensating drippers | The same amount of water at the top and at the bottom |
Rotor and spray sprinklers always go on separate zones. The heads are placed so that each jet reaches the next, otherwise dry strips are left between them.
A sprinkler must not water the house: angle and reach are set so the jet misses the facade, windows and foundations. A permanently wet foundation brings damp into the walls — see drainage around the house.
The pipes, the valve box and the controller
The pipes are polyethylene, in a shallow trench, laid with a fall towards a drain point. That way the water runs out by itself in autumn and winterising is easy.
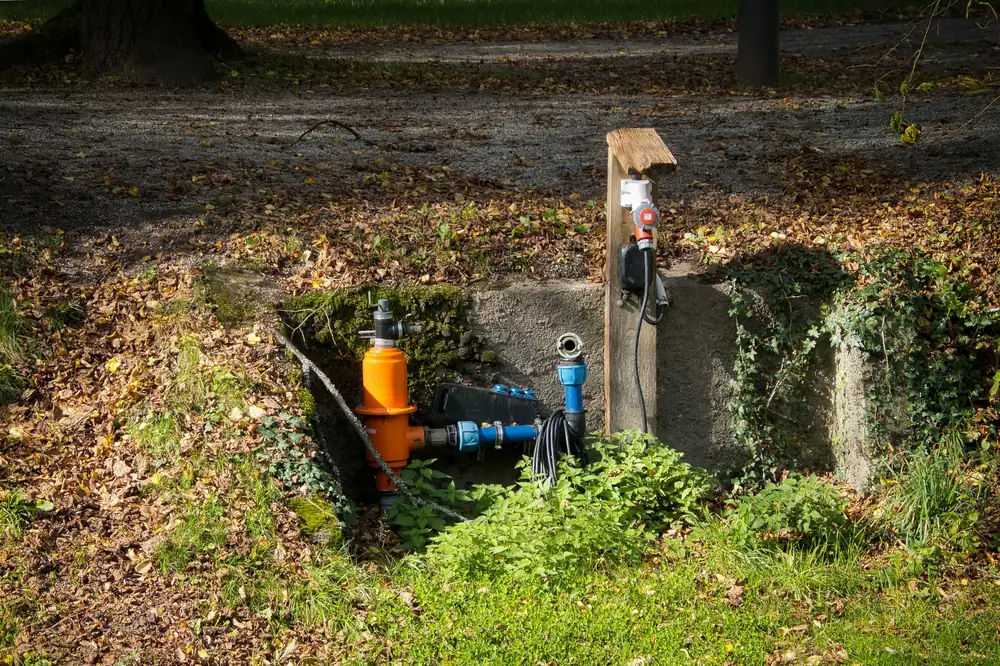
- The connection. A branch after the water meter with its own stop tap for the system. Changes to the pipes in the house are for our plumber.
- The trench. Narrow; the turf is cut in strips and put back. Under paths and paving the pipe goes in a sleeve, or the paving is lifted and relaid.
- Drain points. A tap or valve at the lowest points; without one, water stays in the pipes all winter.
- The box. Within reach, with a filter and backflow protection before the valves. Some devices must stand above ground, higher than the highest sprinkler.
- The cables. Low-voltage, in the same trench as the pipes and apart from the 230 V supply.
- The controller. A new 230 V socket for it is an electrician's job; we do not touch the electrics.
- The rain sensor. In the open, away from the sprinkler jets, or it takes them for rain.
At the end we photograph the route while the trench is open and give you a sketch of the zones, so when you dig for a fence or a tree you know where the pipes run.
Call and tell us how much lawn there is, whether there are beds and a hedge, and where the water comes from. We say what to check before the visit and whether and when we can take the job on.
📞 +359 52 993 333How the installation goes
- Visit and measuring. Pressure and flow, soil, slope and the place for the box. If you have no sketch of the garden, we make one on the spot.
- Plan and proposal. Zones, sprinklers and drip lines, a parts list and a price, and when we could start.
- Trench and pipes. Turf cut, trench dug, pipes laid with a fall to the drain points, turf put back.
- Valves and sprinklers. Valve box, filter and backflow protection, then the heads and drip lines.
- Flushing and a test cycle. Water runs through before the nozzles go on, then zone by zone.
- Controller and meter. We set the schedule, show you how to change it, and watch the meter with the system off. It must stand still.
The trench and the turf take the most time; autumn or early spring is the calmest time to build. Start-up, winterising and repairs later are on the irrigation servicing page.
When you do not need a built-in system
A system in the ground is not always the sensible choice. Check these first:
- A small garden and a few beds. A hose with a timer on the tap and a drip line on top of the soil do the job with no digging.
- The house stands empty all winter and nobody looks in. Drip lines on the surface that are taken in each autumn are calmer than pipes that someone has to drain.
- Water stands in the garden after rain. Sort out the garden drainage first; sprinklers on waterlogged soil only make it worse.
- The water barely reaches the house. Fix the pressure inside first, then the watering.
If you want a system and are unsure how big, start with one or two zones for the lawn and leave room in the valve box. A zone can be added later without digging everything up again.
What to tell us by phone, and what the price depends on
We give the price by phone after a short description or a visit. The more we know beforehand, the closer the first estimate. Tell us:
- roughly how much lawn there is, and how many beds, shrubs and metres of hedge;
- a sketch or a photo of the garden from above, if you have one;
- where the water comes from — the mains of ViK Varna, the water company, after the meter, or a well with a pump — and the pressure if you know it;
- under which paths, paving or concrete the pipe must pass;
- when you want it working — a plan made before the season is made more calmly.
The price depends on the number of zones, the length of pipe, the kind of sprinklers and drip lines, the controller and how hard the digging is. If the pipe between the meter and the house may already be losing water, that is looked for first: see underground water leak.
If you live abroad or let the house out
Many callers are not in Bulgaria while the garden is built. Email photos of the garden, the water meter and the place for the controller, with a rough size of the lawn, to info@kanalvarna.com. Tell us who will open the gate and show us the meter — a neighbour, a caretaker or whoever holds the keys. For a house let to guests, say so: a system nobody watches is better kept simple.
Frequently asked questions
How many zones will I need?
That depends on the water at the inlet and on what is watered, not only on the area. Lawn in sun and in shade, beds and a hedge usually go on separate zones, because they want different amounts of water. We give the number after we have measured pressure and flow; from a photo we can only give a rough idea.
Does the whole lawn have to be dug up?
No. We dig narrow trenches along the pipe route, and the turf is cut in strips and put back on top, where the strips usually blend in. If the garden is still to be made, lay the pipes before the grass.
Drip line or sprinklers for a hedge?
For a hedge, almost always a drip line along the row. A sprinkler wets the leaves and the fence, loses water in the wind and also waters the grass next to the hedge, which has a different schedule. A drip line gives water right at the roots and can be hidden under mulch.
Do you do the electricity for the controller?
No. A 230 V socket outdoors or in the garage, a supply for a pump and anything in the fuse board is for an electrician. We lay the pipes and the low-voltage cables, and plug the controller into a ready socket.
Can a zone be added later?
Yes, if it was planned for. We leave room in the valve box and, where possible, a plug on the main line for a later branch. The new zone must fit the flow at the inlet like any other; if it does not, we split it into two smaller zones with separate valves.
Related pages
Start-up, winterising and repairs after the build Garden drainage
When water stands in the garden after rain Drainage around the house
Damp at the foundations and in the basement Underground water leak
The pipe from the meter to the house is losing water Plumber
Taps and pipes in the house
A new irrigation system for the garden?
Call and tell us how much lawn there is, whether there are beds and a hedge, and where the water comes from. We say what to check before the visit and whether and when we can take the job on.
📞 +359 52 993 333or email info@kanalvarna.com — write in English and we reply in English.
Send us a message
Leave your name and a phone number with the country code. Add your email if you prefer a written reply — write in English and we reply in English. We confirm the price before any work starts.