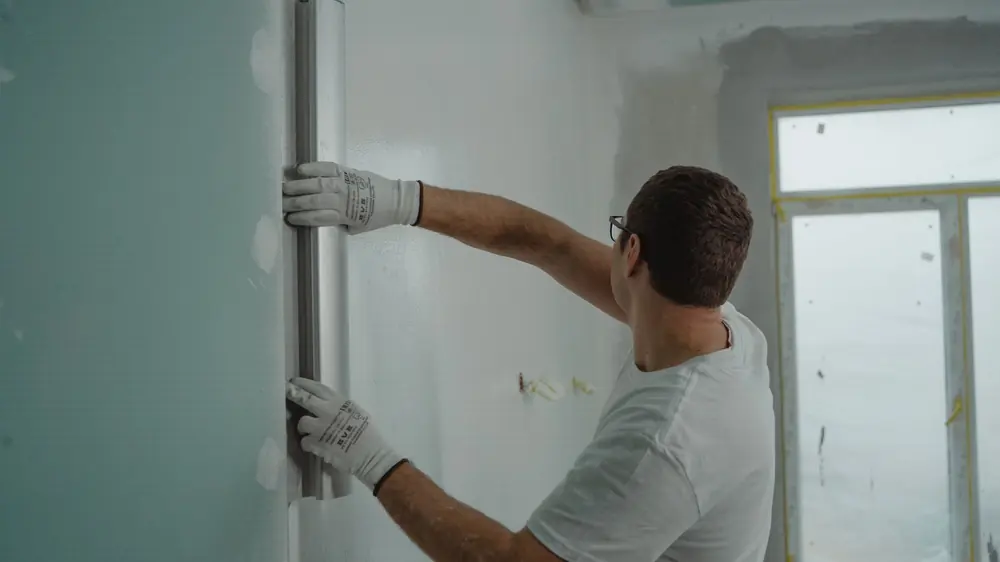
Window reveals in Varna: finishing round the new frame
The windows are new, but round them there is grey foam and a bare joint. We measure the damp in the reveal, look at the joint with a thermal camera when the day is cold enough, and finish the reveals, the window board and the drip edge.
Our clients on video · all videos (in Bulgarian)
Window reveals are the finish round a new window: the fitting foam is protected, the sides and top of the opening are formed in skim, plasterboard or PVC panel, corner beads and a window board go in, and outside a drip edge carries the water away. Before that we measure the damp in the wall and, if the weather allows, photograph the joint with a thermal camera. We do not fit windows: we come after the company that did. The work is carried out by the craftsmen we work with; we organise it and remain your one phone number. Call +359 52 993 333 or email info@kanalvarna.com — write to us in English and we reply in English.
Updated November 2026What window reveals are, and when they are done
Reveals are the finish of the opening round a new window: the foam, the side and top surfaces in the room, the window board and the drip edge outside. They are needed when the window company has fitted the windows and left a raw joint, with the plaster round the frame knocked away. Repairs to the windows themselves are in the window and door repair hub.
Reveal. The two side surfaces and the top surface of the opening between the window frame and the wall. The finish includes protecting the fitting joint with tape, the corner beads and the window board. Inside it is skim, plasterboard or PVC panel; outside it is render and a metal drip edge.
Most often reveals are needed after an old window has been replaced: the old frame came out and took a piece of plaster with it, and the new one sits in a wider or deeper opening. The same goes for a balcony door and the entrance door of a flat. We are a company for leaks, damp and drains, so we look at two things that are often missed: is there water in the wall round the window, and is the joint cold. We take on the reveals together with the painting and with taking away the leftovers, with one phone number for everything.
Foam first: cutting, protecting and tape
The work starts with the foam, because it fills the joint between frame and wall and keeps out the cold, but it cannot stand sun and damp. The excess is cut only after it has fully cured, and the cut surface is never left open: it is covered with tape or plaster.
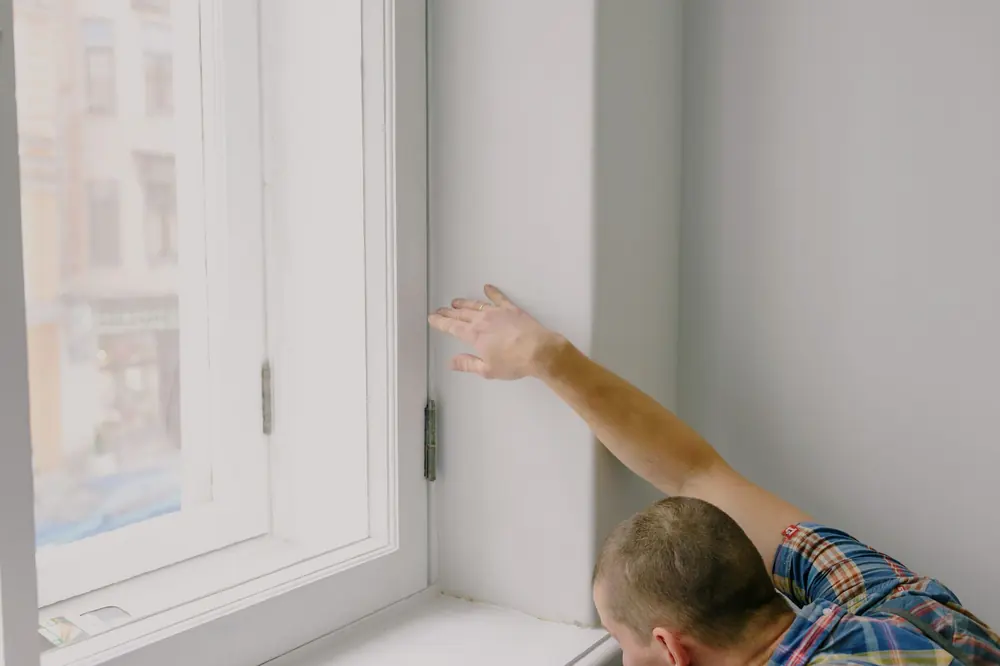
Fitting foam is polyurethane. In the sun it quickly turns yellow and brittle and crumbles like a dry sponge, and its cut surface is porous and soaks up water. That is why foam is never left exposed, inside or out.
- Inside: a vapour-tight tape along frame and wall, then plaster or skim with mesh over it. Room damp does not reach the foam.
- Outside: a diffusion tape or a render that lets vapour out but not rain.
- The order of the layers: tighter inside, more open outside. The other way round traps damp in the joint.
Tapes are not used in every reveal. If the window was fitted without them, a tape can still be stuck inside onto a clean, dusted wall and covered with plaster. We follow the maker's instructions. Before the reveals are closed, on a cold enough day we photograph the joint with our thermal camera. A cold streak along the frame means a void or missing foam, and it is put right while the joint is still open. When the difference between room and street is small the camera tells us little, and on a warm autumn day we say so honestly; for a whole home see thermal imaging survey.
Skim, plasterboard or PVC panel: which, and when
| Material | When it makes sense | What to watch |
|---|---|---|
| Skim over plaster | The reveal is straight and the plaster round the frame is sound and dry | A thick layer does not fill holes; it cracks. Hollow plaster comes off first |
| Plasterboard | The opening is crooked, deep or too uneven for skim | Edges and joints are reinforced with mesh; a moisture-resistant board is needed in a bathroom or kitchen |
| PVC panel | A quick, dry, washable finish, for example at a kitchen window | It does not breathe: damp behind it may go unseen. Not for a damp wall |
| Timber or MDF | A balcony or entrance door where you want an architrave instead of plaster | Painted or varnished; damp swells it, so not on a wet reveal |
Before choosing, we tap the reveal with the handle of a spatula. A hollow, drumming sound means plaster that came away from the wall when the old frame was taken out; it is knocked off back to sound plaster, or the skim will follow it, paint and all. Then we measure the damp with a moisture meter: a damp reveal is not closed until we know where the water comes from; see damp survey. For the painting see skimming and painting; here we finish only the opening.
Tell us how many windows there are, which floor you are on and whether there is plaster round the frame; a close-up photo of the reveal helps. By phone we say whether and when we can come and how the price is made up.
📞 +359 52 993 333Corners, window board and drip edge
The corners and the board decide whether the reveal will crack, and the drip edge decides whether it stays dry under the window.
- Corner bead. Every external corner of the reveal gets a bead with mesh, in aluminium or PVC. Without one the edge breaks at the first knock from a curtain or a chair.
- Window board inside. PVC, timber, MDF or stone. It must be supported along its whole length, or it springs and cracks. The joint to the frame is closed with flexible sealant, not a hard mix.
- The radiator under the window. The board must not block the warm air. If the radiator is in the way, it is taken off and refitted by our plumber.
- Drip edge outside. The outside sill is covered with sheet metal sloping outwards, bent down and with closed ends, so that water drips away from the facade and not under the frame. Sealant finishes the joint but does not stop water.
What we do not do. We do not take on outside reveals above the second storey ourselves: we have no scaffolding or cherry picker. That is work for a partner with rope-access equipment, and by phone we tell you whom to contact. Electric roller shutters and cables are for an electrician, and widening an opening in a load-bearing wall is for a structural engineer.
Cracks, mould in the corner, cold, water under the board
| What you notice | Likely cause | What is done |
|---|---|---|
| A thin crack along the line between frame and paint | uPVC and plaster expand differently; the joint moves | Flexible sealant and paint, without breaking out the reveals |
| A wide crack at the corner of the reveal | No corner bead, or the skim was too thick | The corner is opened, a bead with mesh fitted, skim in thin coats |
| Cold at the reveal with the sash closed | Voids in the foam or no tape round the frame | Thermal camera, then the reveal opened, filled and taped |
| Black spots in the top corner of the reveal | Cold joint and condensation, sometimes a damp wall | Measured with a moisture meter and the cause found before any cleaning and painting |
| Water under the inside board after rain | No drip edge, a fall towards the wall, or an open joint outside | A look from outside, new metal sheet sloping outwards, closed ends |
Mould in the corner of a new window is not always the fault of the reveal. New windows close the room tightly, and the damp moves to the coldest place, the corner and the joint. A cold joint points to the fitting; a damp room points to ventilation and heating. A thermal camera and a moisture meter show which. For cleaning, see mould and damp.
How the work on the reveals goes
- Looking and measuring. We look at the foam, tap the reveals, measure the damp and, if the day is cold enough, photograph the joint.
- Protection. The window and glass are covered with film and tape, the floor with cardboard, and the doors to the other rooms stay closed.
- Foam and tape. Excess foam is cut after curing, gaps are filled and the tapes are stuck.
- Base and corners. Hollow plaster comes off, the base is primed, and corner beads with mesh or boards for a plasterboard reveal go in.
- Skim and sanding. The coats are thin, and before each we check the previous one is dry. The craftsman brings his own sander.
- Board, drip edge, paint. The board and the sheet metal go in, joints are closed with sealant, then comes the paint. Leftovers are taken away and handed in at a designated site.
The fine dust on shelves and floors is a separate job: see after-builders clean. Somebody has to be at the flat; if you live abroad, email us photos and the address and tell us who will open the door: a neighbour, the building manager or whoever holds your keys.
What to tell us by phone, and what the price depends on
We give the price for reveals by phone once we have seen a photo of them. Have ready:
- how many windows and doors there are, and their sizes;
- whether it is inside only or outside too, and which floor you are on;
- whether there is plaster round the frame already or the joint is bare;
- whether you want a board inside and sheet metal outside, and in what material.
The price depends on the number and size of the openings, the thickness of the wall, the reveal material, the floor and outside access, and how much plaster has to come off. If the joints are damp, we settle the cause first. We issue an invoice.
Frequently asked questions
How long after the windows are fitted can the reveals start?
When the foam has fully cured: it is no longer sticky and cuts to a flat surface. How long that takes depends on the foam and the temperature, so follow the instructions of the maker and of the window company. Cut too early, the foam squashes and leaves voids; foam that has not cured goes on expanding under the plaster.
Can foam simply be painted?
No. Foam is not painted: the paint flakes and the sun goes on breaking the foam down underneath. It needs protection on top, a tape, plaster or board. Paint alone leaves the joint open and cold, and you cannot see how bad it is.
Do you do the outside reveals on a high floor?
The reveals and the board inside, yes, on any floor. Outside at that height it is different: that needs a partner with rope-access equipment, and by phone we tell you whom to contact.
I let my flat out and live abroad. Can you finish the reveals?
Yes. Email us the address and photos of the reveals, close up, and tell us who will open the door. Write to us in English and we reply in English; you get the price before the work starts.
Related pages
The hub for windows and balcony doors Window seal replacement
When the draught comes from the sash, not the joint Skimming and painting
Paint on the reveals and the walls Thermal imaging survey
A thermal picture of the joints and walls Mould and damp
Black spots in the corner of a new window
New windows, but a bare joint round them?
Tell us how many windows there are, which floor you are on and whether there is plaster round the frame; a close-up photo of the reveal helps. By phone we say whether and when we can come and how the price is made up.
📞 +359 52 993 333or email info@kanalvarna.com — write in English and we reply in English.
Send us a message
Leave your name and a phone number with the country code. Add your email if you prefer a written reply — write in English and we reply in English. We confirm the price before any work starts.